Craft & Utility
Food Photography for Restaurants: Shoot Your Own Dishes Well
You can shoot appetizing photos of your own food with the phone in your pocket. A practical guide to light, angles, styling, and editing — plus when it's worth hiring a pro.
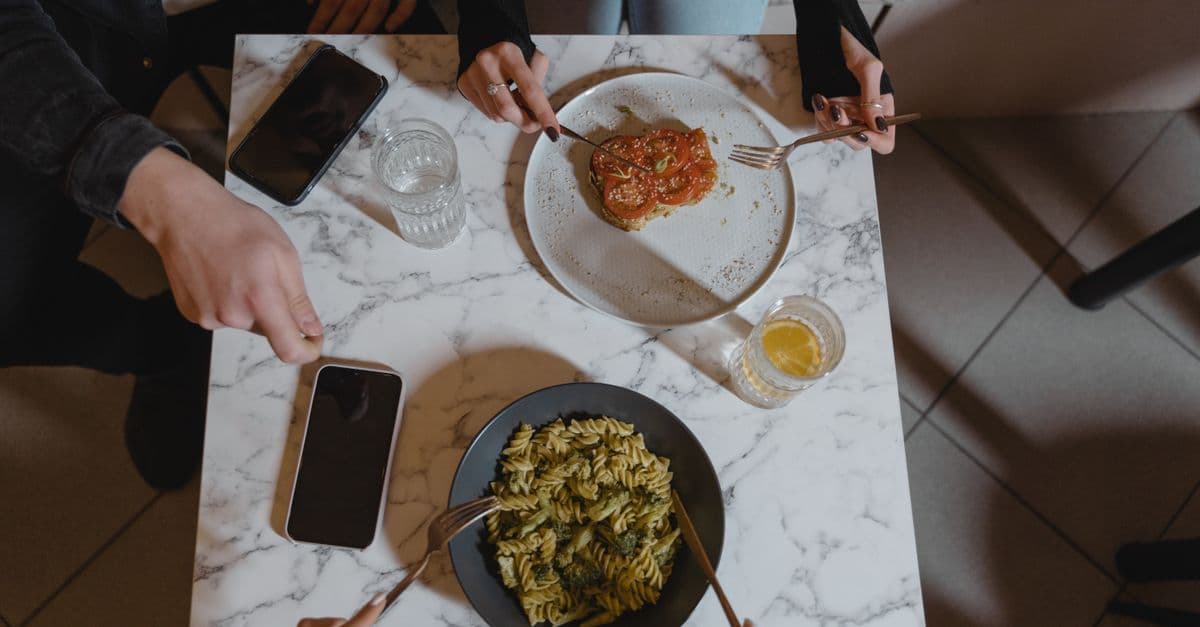
You do not need an expensive camera or a professional to make your food look good online — you need soft light, the right angle, and food shot at its freshest, all of which you can manage with the phone in your pocket. Good photos are the raw material for your social media, your Facebook and Instagram ads, and your Google Business Profile — where Google's own guidance notes that photos help customers decide to choose a business — and they directly influence whether someone walks in. This guide is for the owner or manager who wants to shoot dishes well in-house — with a note on when hiring a pro is worth it.
Why your food photos matter more than you think
People eat with their eyes first, and increasingly they do it on a screen before they ever reach a table. A diner scrolling social, comparing restaurants on Google, or tapping through a delivery app is making a snap judgment on your photos. A dull, dim, or misleading photo costs you covers; an appetizing one earns them. The good news: the biggest factors in a great food photo — light and freshness — are free.
Light is everything
If you take one thing from this guide, take this: shoot in soft, natural light, and never with your phone's flash or under harsh overhead kitchen lighting.
- Find a window. Bright, indirect daylight is the most flattering light for food. Set up near a window, out of direct sun (which is too harsh). A cloudy day gives beautiful soft light.
- Avoid mixed and colored light. Warm restaurant bulbs and a direct flash both distort food's color and flatten its texture. Turn off the flash.
- Watch your shadows. Soft shadows give food shape; hard, dark shadows kill it. A simple white board or napkin opposite the window bounces light back and softens shadows for free.
 A dish being photographed in soft natural light near a window
Angles: match the angle to the dish
There is no single "right" angle — the dish decides:
- Overhead (bird's-eye). Best for flat plates, bowls, spreads, and tablescapes where the interest is in the arrangement. Great for a table of dishes or a colorful bowl.
- 45 degrees. The natural "how you see it sitting down" angle — versatile and safe for most plated dishes.
- Straight-on (side). Best for tall, layered food — a stacked burger, a slice of layer cake, a full drink — where height is the story.
Shoot the same dish from two angles and pick the stronger frame later. It costs nothing but a few seconds.
Composition and styling
You do not need a food stylist for everyday shots — just a few habits:
- Keep the background simple. A clean table, a neutral surface, or a simple prop. Clutter competes with the food. Negative space (empty room around the dish) makes it feel considered.
- Use the rule of thirds. Mentally divide the frame into a three-by-three grid and place the dish or its focal point along those lines rather than dead center. Most phones can show a grid overlay to help.
- Style for freshness. Food photographs best in the first minute or two. Wipe drips off the rim, add a garnish, a sprinkle of herbs, or a little steam or sauce sheen while it is fresh. A quick brush of oil keeps things looking glossy.
- Add a little context. A hand reaching in, a fork lifting a bite, cutlery or a drink at the edge — small human touches make food feel real and appetizing.
Shooting on a phone: the practical settings
- Tap to focus and set exposure. Tap the dish on your screen so the phone focuses and meters on the food, then drag to fine-tune brightness.
- Shoot a burst of frames. Take several — small changes in focus and framing make a big difference, and you only keep the best.
- Do not over-zoom. Digital zoom degrades quality; move the phone closer instead.
- Keep it steady and level. Brace your elbows or rest on the table. A blurry photo is unusable no matter how good the food.
Editing: a light touch
A little editing lifts a phone photo; too much ruins it. Using your phone's built-in editor or a free app:
- Nudge brightness and contrast so the food looks bright and appetizing, not gray.
- Correct white balance so white plates look white and the food's real colors show.
- Make small, honest adjustments only. Do not push saturation so far the food looks fake, and never edit a dish to look like something it is not — a photo that oversells sets up a disappointed guest at the table.
 A chef garnishing a plated dish with tweezers in a kitchen
DIY or hire a restaurant photographer?
Doing your own day-to-day photos is the right default, but a pro earns their fee for specific jobs:
- Hero and menu images — the handful of signature shots that headline your website, menu, and ads deserve professional lighting and styling.
- A seasonal menu launch — when you are refreshing many dishes at once and want a consistent, polished set.
- When you simply do not have the time or eye — a good local photographer will produce a batch of images you reuse for a year.
A common, cost-effective split is to shoot your own casual social and story content and hire a pro occasionally for the key images. If you do hire out, get a few local quotes, and be clear on how many final images you get and how you are allowed to use them, rather than going by a headline rate.
How to hire a restaurant photographer
- Look at their food work, not their weddings. Ask for restaurant or food portfolios, ideally shot in real dining rooms, not only in a studio.
- Write a one-page brief. List the dishes (with the exact plating), the shots you need (hero, overhead, close-up, the room, the team), where each image will be used, and the orientations you need: wide for the website, square for the menu and feed, vertical for Stories and Reels.
- Ask for a written quote that names the deliverables: how many edited final images, how soon you get them, whether a food stylist is included, and how many hours on site.
- Agree the usage rights in writing. Photographers usually keep copyright and license the images to you. Make sure the license covers every place you will use them (website, menus, social, delivery apps, print and paid ads) and for how long, and whether you can edit or crop them.
- Plan the shoot day around the kitchen. Book a quiet morning or afternoon, prep the dishes in the order of the shot list, and have someone from the kitchen on hand to plate and re-plate.
Where these photos go to work
Great food photos are not the goal — using them is. Put them everywhere a diner decides:
- Social media — the core of every restaurant feed.
- Facebook and Instagram ads — the image is most of what makes a food ad work.
- Your Google Business Profile — profiles with strong photos earn more clicks and visits.
- On your menu — a single strong photo can lift a specific high-margin dish you want to sell; menu engineering is how you decide which.
Shoot in good light, keep it honest, and use the results across every channel. For how it all fits together, see the full restaurant marketing guide.
Frequently asked questions
How do you do food photography for restaurants?
Shoot in soft natural light near a window, not under harsh kitchen lights or with a direct flash. Style the plate quickly while the food looks its freshest, keep the background clean and simple, and shoot from the angle that flatters the dish — overhead for flat plates and spreads, a low 45-degree angle for tall or layered food. Take several frames, tap your phone screen to focus and set exposure, then make light edits for brightness and color. You can get genuinely good results on a modern phone; the light and the freshness of the food matter far more than the camera.
How much do restaurants pay for food photography?
It ranges from nothing to a professional day rate, and there is no single figure — it depends on your market, the photographer's experience, and how many dishes and how much styling are involved. Many restaurants do it themselves on a phone for free, hire a local photographer occasionally for a menu refresh or hero shots, or mix the two. If you hire out, get a few local quotes and be clear about deliverables (number of final images, usage rights, whether a food stylist is included) rather than going by a headline rate. Doing your own day-to-day social photos and hiring a pro only for key images is a common, cost-effective split.
What is the 20-60-20 rule in photography?
This is not a widely standardized rule, and you will see it defined inconsistently, so treat any single definition with caution. The composition principle that genuinely helps food photos is the well-established rule of thirds: imagine your frame divided into a three-by-three grid and place the dish or its focal point along those lines or intersections rather than dead center. Combined with clean negative space and a simple background, the rule of thirds does far more for a food photo than any less-standard formula.